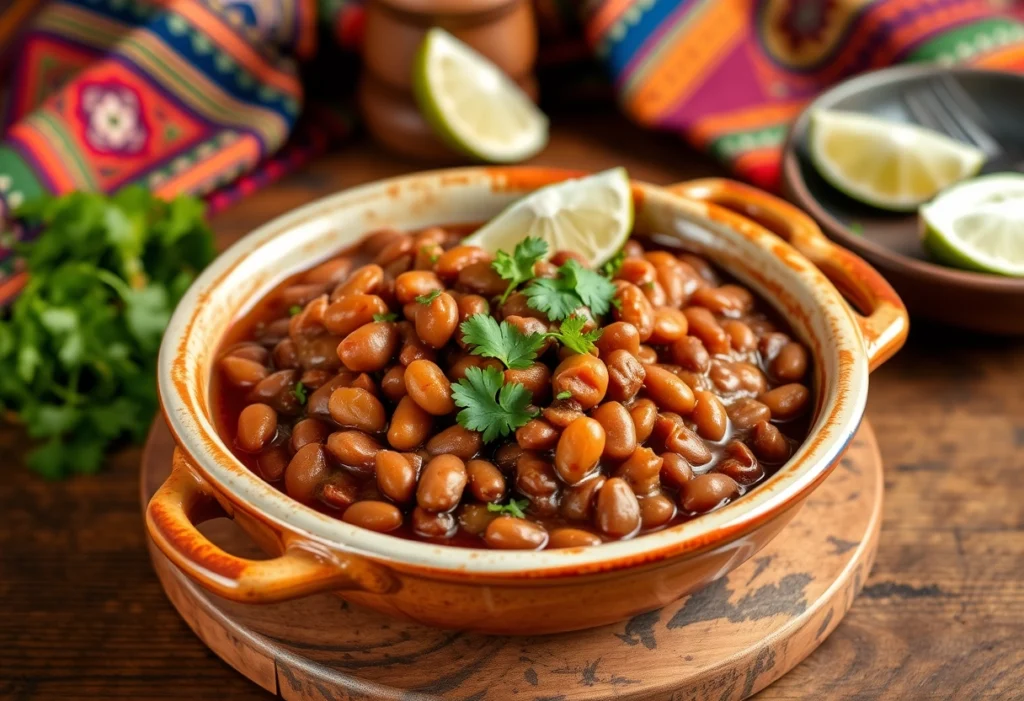
Learn how to prepare tasty charro beans recipe with simple ingredients! Avoid common mistakes and enjoy this hearty dish. Click to master the recipe!
Introduction
Charro beans, or frijoles charros, are a beloved staple of Mexican cuisine known for their hearty flavor and comforting texture. This traditional dish, rich in history and flavor, is not just a side but can also shine as a main course. In this guide, we’ll walk you through the step-by-step process of making the perfect charro beans from scratch. Whether you’re a novice in the kitchen or looking to enhance your culinary repertoire, this recipe is straightforward, delicious, and guaranteed to impress. So grab your apron, and let’s get started on this culinary adventure!
What Are Charro Beans?
Understanding Charro Beans
Charro beans have their roots in the rich agricultural regions of Mexico, where beans are a dietary staple. They are often made with pinto beans and flavored with various ingredients such as bacon, chorizo, tomatoes, and spices. Unlike traditional bean dishes, charro beans are known for their savory broth and can be served in a soupy consistency. This distinguishes them from refried beans or black beans typically found in Mexican cuisine.

Ingredients for Charro Beans
Essential Ingredients
To create your delicious charro beans, gather the following essential ingredients:
- Pinto beans (2 cups dried or 3 cans)
- Bacon or chorizo (4-6 ounces)
- Onion (1 medium, chopped)
- Garlic (2-3 cloves, minced)
- Tomatoes (2 medium, diced)
- Jalapeños (1-2, chopped, adjust to taste)
- Spices: Cumin, black pepper, salt, and optional chili powder.
| Ingredient | Quantity | Serving Size |
|---|---|---|
| Pinto beans | 2 cups dried | 4-6 servings |
| Bacon or chorizo | 4-6 ounces | 4-6 servings |
| Onion | 1 medium | 4-6 servings |
| Garlic | 2-3 cloves | 4-6 servings |
| Tomatoes | 2 medium | 4-6 servings |
| Jalapeños | 1-2 | To taste |
| Spices | To taste | 4-6 servings |
Step-by-Step Instructions
Preparing the Beans
The first step in making charro beans is to soak the pinto beans. If you’re using dried beans, soak them overnight in plenty of water to rehydrate. This helps reduce cooking time and enhances their texture. If you’re short on time, a quick soak method involves boiling the beans for 2-3 minutes, then letting them sit for an hour. For convenience, you can also use canned beans—just rinse them thoroughly before adding them to the pot.
Cooking the Charro Beans
- Cook bacon or chorizo: In a large pot over medium heat, cook the bacon or chorizo until crispy. This will provide a rich flavor base for your dish.
- Sauté aromatics: Add the chopped onions, minced garlic, and chopped jalapeños to the pot. Sauté until the onions are translucent and the jalapeños are tender.
- Combine ingredients: Stir in the soaked (or rinsed canned) beans along with diced tomatoes. Add enough water or broth to cover the mixture completely.
- Simmer: Bring to a gentle boil, then reduce the heat and let the beans simmer for 1-2 hours if using dried beans, or 20-30 minutes for canned beans. Stir occasionally and season to taste with spices like cumin, black pepper, and salt.

Serving Suggestions
Charro beans can be served in various ways. Enjoy them as a hearty side dish alongside rice and tortillas, or serve them as a standalone dish topped with fresh cilantro and lime juice. For added flavor, consider garnishing with diced avocado or crumbled queso fresco.
Common Mistakes to Avoid
Troubleshooting Your Charro Beans
To ensure your charro beans turn out perfectly every time, avoid these common mistakes:
- Overcooking beans: If using dried beans, make sure to check them periodically. Overcooked beans can become mushy and lose their flavor.
- Insufficient seasoning: Always taste your beans while they simmer. Adjust the seasoning as necessary to bring out the rich flavors.
- Skipping the soak: Soaking dried beans is crucial for even cooking and reducing cooking time. Don’t skip this step!
Conclusion
In conclusion, making charro beans is an easy and rewarding experience for any beginner in the kitchen. With this detailed guide, you now have all the tools you need to create this delicious dish. Don’t hesitate to experiment with flavors and make it your own. Enjoy the comforting taste of homemade charro beans, and happy cooking!
FAQ Section
Frequently Asked Questions about Charro Beans
1. What are charro beans?
Answer: Charro beans are a traditional Mexican dish made with pinto beans, bacon or chorizo, and spices. They are known for their rich flavor and are often served as a side dish or main course.
2. Can I use canned beans for this recipe?
Answer: Yes, using canned beans can save time. Just rinse and add them in the cooking process without soaking.
3. How do I soak pinto beans properly?
Answer: To soak pinto beans, cover them with water and let them sit for at least 4 hours or overnight. This helps reduce cooking time and improves texture.
4. How long do charro beans last in the fridge?
Answer: Charro beans can last up to a week in the refrigerator when stored in an airtight container.
5. What spices are commonly used in charro beans?
Answer: Common spices used in charro beans include cumin, black pepper, and sometimes chili powder for extra flavor.
6. Can I make charro beans vegetarian?
Answer: Absolutely! To make vegetarian charro beans, simply omit the bacon or chorizo and use vegetable broth for cooking.
7. What are some good serving suggestions for charro beans?
Answer: Charro beans can be served with rice, tortillas, or as a standalone dish. Garnish with fresh cilantro and lime for added flavor.
8. Are charro beans healthy?
Answer: Yes, charro beans are a nutritious option as they are high in fiber and protein. They can be a healthy addition to a balanced diet when prepared with less fat.
9. How do I fix overcooked charro beans?
Answer: If your charro beans are overcooked and mushy, try adding a bit of broth or water to improve the texture. You can also serve them as a refried bean alternative.
10. Can I freeze leftover charro beans?
Answer: Yes, you can freeze leftover charro beans. Store them in an airtight container or freezer bag for up to 3 months. Thaw in the refrigerator before reheating.
