Learn how to bake soft, fluffy sandwich bread with this simple recipe for beginners. Follow our step-by-step guide and start baking today!

Introduction
Making homemade sandwich bread can seem daunting for beginners, but with the right guidance, you can bake soft, delicious bread from scratch. The aroma of fresh bread wafting through your kitchen is one of life’s simple pleasures, and there’s something truly special about enjoying a sandwich made with your very own homemade loaf. In this guide, we’ll walk you through the process step-by-step, ensuring you avoid common challenges like achieving the right texture or dealing with rising dough. By the end, you’ll have a perfect loaf of sandwich bread to enjoy with your favorite fillings.
Ingredients You’ll Need
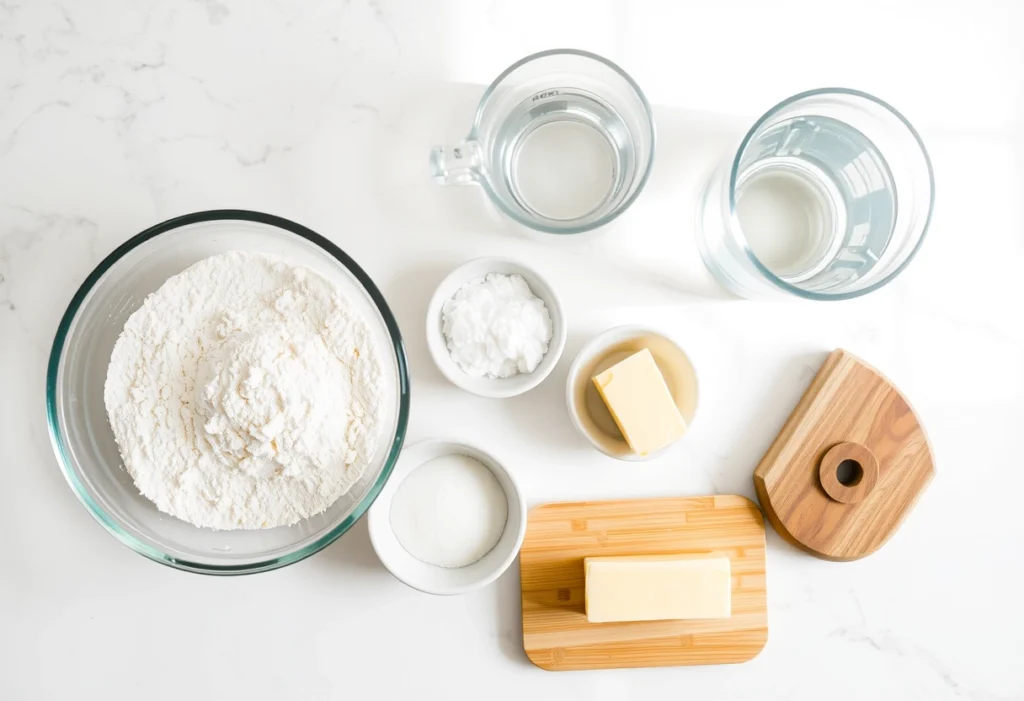
Before we start, gather these simple ingredients for your sandwich bread. Most of these items are pantry staples, making it easy to whip up a loaf whenever the craving strikes.
- All-purpose flour: This is the foundation of your bread. You can also experiment with whole wheat flour for a nuttier flavor and added nutrition.
- Instant yeast: This type of yeast is convenient because it doesn’t require proofing in water before use. It helps the dough rise quickly.
- Sugar: A small amount of sugar enhances the flavor and helps feed the yeast during fermentation.
- Salt: Essential for flavor and controlling yeast activity.
- Warm water: Activates the yeast; ensure it’s warm but not hot (around 110°F or 43°C).
- Butter or oil: Adds richness and moisture to the bread.

Step 1: Preparing the Dough
In this first step, we’ll combine all the ingredients to create the perfect dough for sandwich bread.
Mixing the Ingredients
- In a large bowl, mix together 4 cups of all-purpose flour, 2 tablespoons of sugar, 2 teaspoons of salt, and 1 packet (2 ¼ teaspoons) of instant yeast.
- Slowly add about 1 ½ cups of warm water and 2 tablespoons of melted butter (or oil), stirring until a shaggy dough forms.
- Once combined, turn the dough out onto a floured surface and knead for about 10 minutes until smooth and elastic. You should be able to stretch it without tearing.
Kneading is crucial as it develops gluten, which gives your bread structure and chewiness. If you have a stand mixer with a dough hook, you can use that to save time and effort!

Step 2: Letting the Dough Rise
The Importance of Proofing
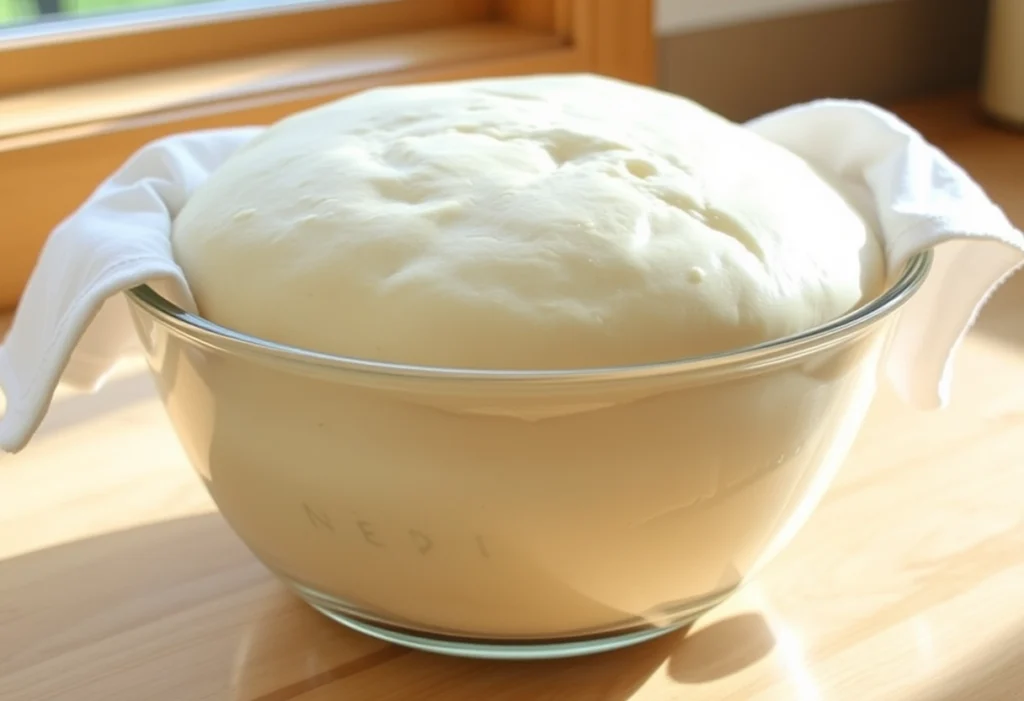
- After kneading, form the dough into a ball and place it in a lightly greased bowl. Cover it with a clean cloth or plastic wrap.
- Let it rise in a warm place for 1-2 hours or until it doubles in size. A good spot is near a warm oven or on top of your refrigerator.
Why this step matters: The dough needs time to rise to create a light, fluffy texture. During this time, the yeast ferments and produces carbon dioxide gas, which causes the dough to expand.
Step 3: Shaping and Baking the Bread
How to Shape Your Loaf
- Once risen, punch down the dough gently to release excess gas. Turn it out onto a floured surface.
- Shape the dough into a loaf by flattening it into a rectangle and folding it inward from both sides toward the center. Roll it tightly from one end to form a log shape.
- Pinch the seams closed and place the loaf seam-side down in a greased bread pan.
Baking to Perfection
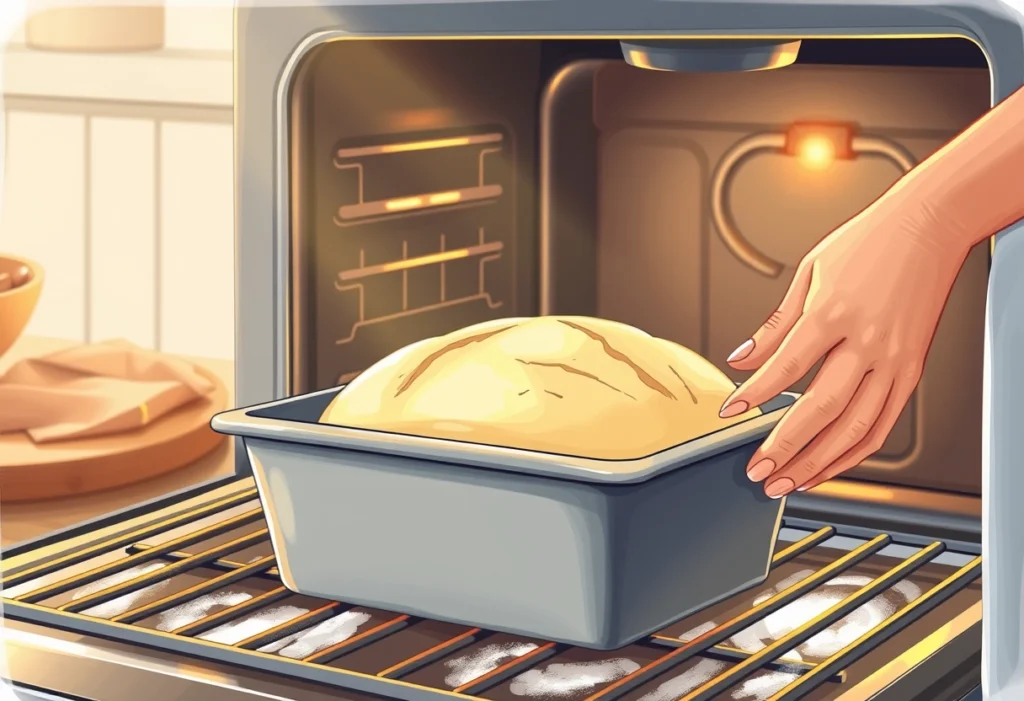
- Preheat your oven to 375°F (190°C) while you let your shaped loaf rise for another 30 minutes.
- Bake the bread for 30-35 minutes until golden brown on top. To check if it’s done, tap the top of the loaf—if it sounds hollow, it’s ready!
Baking times may vary depending on your oven, so keep an eye on your loaf as it approaches the end of baking time.

Step 4: Cooling and Serving
Once baked, remove the bread from the oven and let it cool in the pan for about 10 minutes before transferring it to a wire rack to cool completely.
- Why cooling matters: It helps the bread firm up, making it easier to slice without squishing.
- Tip: For optimal freshness, store your bread in an airtight container at room temperature for up to three days or freeze slices for longer storage.
Enjoy your fresh homemade sandwich bread with your favorite fillings—whether that’s classic peanut butter and jelly or gourmet turkey and avocado!
Common Mistakes to Avoid When Baking Sandwich Bread
Baking can be tricky, especially when you’re just starting out. Here are some common mistakes to avoid:
- Not kneading enough: Insufficient kneading can lead to a dense loaf as gluten won’t develop properly.
- Skipping the second rise: This step is crucial for achieving that light and fluffy texture; skipping it will yield denser bread.
- Using cold water with yeast: Cold water can prevent proper activation of yeast; always ensure it’s warm enough.
Frequently Asked Questions
1. What is the best flour for making sandwich bread?
Using all-purpose flour is ideal for sandwich bread as it provides a good balance of protein and starch, leading to a light and fluffy texture. You can also experiment with bread flour for a chewier loaf.
2. How can I tell when my bread is done baking?
Your bread is done when it has a golden brown crust and sounds hollow when tapped on the bottom. The internal temperature should be around 190°F (88°C) for fully cooked bread.
3. What can I do if my dough is too sticky?
If your dough is too sticky, gradually add a little more flour while kneading until it reaches a smooth, elastic consistency. Be cautious not to add too much flour, as it can make the bread dense.
4. Can I use active dry yeast instead of instant yeast?
Yes, you can use active dry yeast instead of instant yeast. Just make sure to activate it in warm water with a little sugar before adding it to your dough to ensure it works effectively.
5. How should I store homemade sandwich bread?
Store your homemade sandwich bread in an airtight container at room temperature for up to 3 days. For longer storage, slice and freeze the bread wrapped tightly in plastic wrap, then place it in a freezer-safe bag.
Conclusion
Baking sandwich bread at home is not only rewarding but also an enjoyable experience that anyone can master with practice. By following this simple recipe and tips provided throughout this guide, you’ll create a light and fluffy loaf that’s perfect for any type of sandwich or toast.Remember that every baker has their own learning curve—don’t get discouraged if things don’t turn out perfectly at first! With each attempt, you’ll gain confidence and improve your skills in no time. Happy baking!Primary keyword: sandwich bread recipe Feel free to let me know if there are any additional changes or specific sections you’d like me to expand further!
