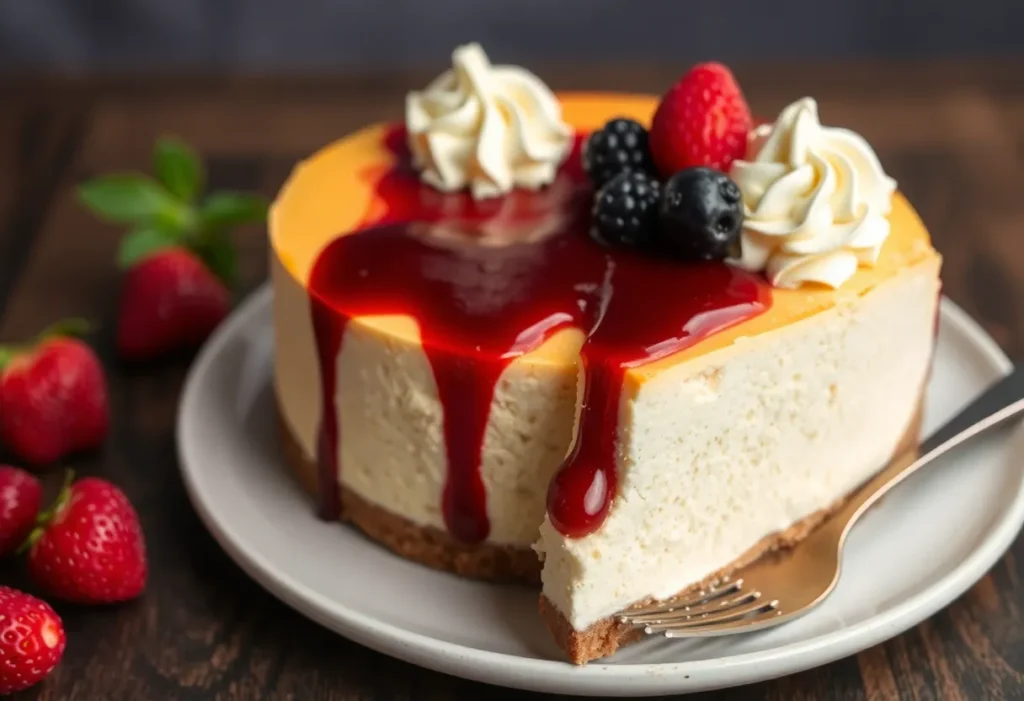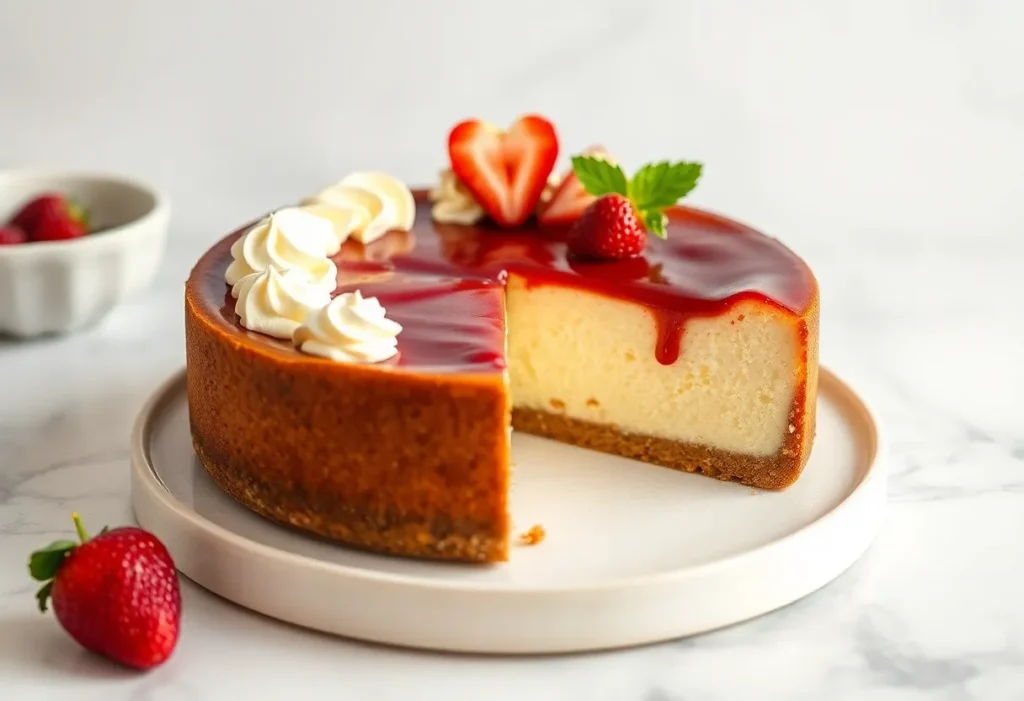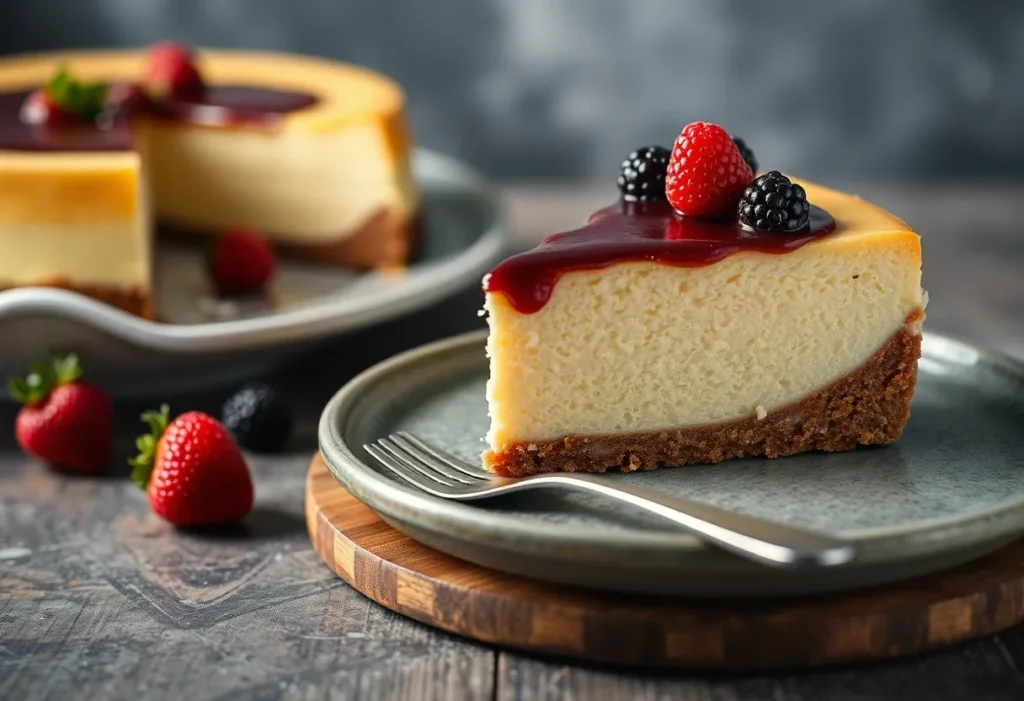
Alright, cheesecake aficionados and curious bakers alike, buckle up! We’re about to embark on a creamy, dreamy journey to cheesecake nirvana. I’m talking about the kind of cheesecake that makes your taste buds do a happy dance and your friends beg for the recipe. But don’t worry, I won’t gatekeep this deliciousness. I’m spilling all the beans (or should I say, cream cheese?) on how to create the most heavenly Philadelphia Cheesecake you’ve ever tasted.
Now, full disclosure: I wasn’t born a cheesecake whisperer. Oh no, my friends. I’ve had my fair share of cheesecake catastrophes. We’re talking sunken centers deeper than the Mariana Trench, cracks wider than the Grand Canyon, and textures that could only be described as “curdled nightmare.” But you know what? Every kitchen disaster was a stepping stone to perfection. So, let’s learn from my mistakes and dive into the world of perfect cheesecake making!
The Ingredients: Your Ticket to Cheesecake Heaven
Before we get our hands dirty (in the most delicious way possible), let’s talk ingredients. Because as any seasoned baker knows, the quality of your inputs directly affects the deliciousness of your outputs. Here’s what you’ll need:
For the crust (aka the unsung hero):
- 1 1/2 cups graham cracker crumbs (about 12-15 whole graham crackers)
- 1/3 cup unsalted butter, melted
- 1/4 cup granulated sugar
- A pinch of salt (trust me on this one)
For the creamy dreamy filling:
- 4 (8 oz) packages of Philadelphia cream cheese, room temperature
- 1 cup granulated sugar
- 4 large eggs, room temperature
- 1/3 cup heavy cream
- 1 tablespoon vanilla extract (the good stuff, not the knock-off brand)
- Zest of 1 lemon
- 2 tablespoons all-purpose flour (our secret weapon against cracks)
Optional but highly recommended toppings:
- Fresh berries (strawberries, raspberries, blueberries)
- Whipped cream
- Chocolate shavings
- Caramel sauce
Now, let’s break down these ingredients and why they’re crucial to our cheesecake success story.
The Crust: More Than Just a Pretty Base
Graham crackers are the classic choice for a reason. They provide that perfect balance of sweetness and texture that complements the creamy filling. But here’s a pro tip: if you’re feeling adventurous, try using digestive biscuits or even Oreo cookies (minus the cream) for a fun twist!
The melted butter is our glue, holding everything together. And that pinch of salt? It’s like the bass player in a band – you might not notice it, but you’d definitely miss it if it wasn’t there. It enhances all the other flavors and balances the sweetness.
The Filling: Where the Magic Happens
Now, let’s talk about the star of the show: Philadelphia cream cheese. Why Philadelphia, you ask? Well, it’s not just because I have a soft spot for the City of Brotherly Love (though their cheesesteaks are pretty amazing). Philadelphia cream cheese has the perfect balance of creaminess and tanginess that makes for an irresistible cheesecake.
The sugar sweetens the deal, while the eggs provide structure and richness. Heavy cream adds, well, creaminess (shocking, I know), and the vanilla extract brings depth of flavor.
But the real unsung heroes? The lemon zest and flour. Lemon zest adds a subtle brightness that cuts through the richness, while a touch of flour helps stabilize the filling and prevent cracks. It’s like hiring a tiny bouncer for your cheesecake party – keeping everything in line!

The Not-So-Secret Steps to Cheesecake Perfection
Alright, now that we’ve got our ingredients sorted, let’s get down to business. Put on your favorite baking playlist, maybe do a little pre-baking dance (it helps, I swear), and let’s make some cheesecake magic!
- Prep like a pro: First things first, preheat your oven to 325°F (165°C). This relatively low temperature is crucial for achieving that perfectly smooth, creamy texture without overbaking. Now, grab a 9-inch springform pan and give it a good greasing. Pro tip: wrap the outside with a double layer of aluminum foil. It’s like a raincoat for your cheesecake, keeping the water out during its spa treatment (more on that later).
- Crust business: In a medium bowl, mix those graham cracker crumbs, melted butter, sugar, and that pinch of salt until it looks like wet sand. Now, press this mixture into the bottom and about 1 inch up the sides of your prepared pan. Use the bottom of a glass or measuring cup to really pack it in there – we want a solid foundation for our cheesecake masterpiece. Pop it in the fridge while you work on the filling. This chilling time helps the crust set, reducing the chances of a soggy bottom (and nobody likes a soggy bottom).
- Cream cheese magic: Here’s where the real fun begins. In a large bowl (or a stand mixer if you’re fancy), beat the cream cheese until it’s smoother than a jazz saxophone solo. This usually takes about 2-3 minutes. Don’t rush this step – thorough beating now means no lumps later!
- Sugar, ah honey honey: Gradually add the sugar, mixing until it’s perfectly combined. Stop and scrape down the sides of the bowl a few times during this process. We want to make sure every granule of sugar gets well acquainted with the cream cheese.
- Egg-cellent addition: Now, add the eggs one at a time, mixing on low speed after each addition. Remember, we’re making cheesecake, not an omelet. The goal is to just incorporate the eggs without adding too much air to the batter. Too much air = cracks, and we’re not about that life.
- Creamy finishing touches: Pour in the heavy cream, vanilla extract, lemon zest, and sprinkle in that flour. Mix until just combined. At this point, resist the urge to lick the beater (okay, maybe one little taste).
- The big pour: Take your crust out of the fridge and pour in your silky smooth filling. Give the pan a gentle tap on the counter to remove any air bubbles. It’s like burping a baby, but way more delicious.
- Water, water everywhere: Here’s where that foil wrap comes in handy. Place your foil-wrapped cheesecake pan in a larger roasting pan. Pour hot water into the roasting pan until it’s about halfway up the sides of the cheesecake pan. This water bath is like a spa day for your cheesecake – it keeps things moist and prevents cracks by providing a humid environment and ensuring even, gentle heating.
- Bake, baby, bake: Carefully transfer your cheesecake spa setup to the preheated oven. Bake for about 1 hour and 15 minutes, or until the center is almost set but still a bit jiggly. You’re looking for a slight wobble in the center when you gently shake the pan – think Jell-O, not tsunami.
- The waiting game: Once the baking time is up, turn off the oven, crack the door open about an inch, and let the cheesecake cool in there for an hour. It’s like slowly easing into a cold pool – no shocking temperature changes here! This gradual cooling helps prevent cracks and gives you that perfectly smooth top.
- Chill out: After its spa day and gradual cool-down, take the cheesecake out of the water bath and remove the foil. Run a knife around the edge of the cake to loosen it from the pan (this prevents cracks as it cools and contracts). Let it cool completely to room temperature, then refrigerate for at least 4 hours or overnight. I know, I know, the waiting is torture. But good things come to those who wait!
- The grand finale: When you’re ready to serve, remove the sides of the springform pan. For clean slices, dip a sharp knife in hot water and wipe it dry between each cut. Serve as is or get creative with toppings. Fresh berries, a dollop of whipped cream, a drizzle of chocolate or caramel sauce – the world is your cheesecake!

Troubleshooting: When Good Cheesecakes Go Bad
Even with the best intentions and meticulous following of instructions, sometimes things can go awry. But fear not! Here are some common cheesecake issues and how to avoid them:
- Cracked top: This is usually caused by drastic temperature changes or overbaking. Use a water bath, avoid opening the oven door during baking, and let the cheesecake cool gradually.
- Soggy crust: Make sure to prebake your crust for about 10 minutes before adding the filling. Also, ensure your foil wrap is watertight to prevent any water from seeping in during the water bath.
- Lumpy filling: This is often due to cold ingredients or undermixing. Always use room temperature cream cheese and eggs, and beat the cream cheese thoroughly before adding other ingredients.
- Sunken center: This can happen if you overbeat the batter, incorporating too much air. Mix on low speed and only until ingredients are just combined.
- Overbaked (dry and grainy): Invest in an oven thermometer to ensure your oven temperature is accurate. Also, remember that the cheesecake continues to cook as it cools, so it’s okay if the center is still a bit jiggly when you turn off the oven.
A Few Extra Tips from a Reformed Cheesecake Disaster Chef
- Room temperature is key: I cannot stress this enough. Cold cream cheese is the enemy of smooth cheesecake. Take your ingredients out of the fridge at least 2 hours before you plan to start baking.
- Don’t open the oven door: I know it’s tempting to check on your baby, but resist the urge! Opening the door causes temperature fluctuations that can lead to cracking and uneven baking.
- The toothpick test doesn’t work here: Unlike cakes, a toothpick inserted into a cheesecake will never come out clean. Judge doneness by the jiggle – a 2-3 inch wobbly center is perfect.
- Let it chill: A properly chilled cheesecake is easier to cut and tastes better. If you can resist the temptation, let it chill overnight.
- Freezer-friendly: Cheesecake freezes beautifully! Wrap it tightly in plastic wrap and then foil, and it’ll keep for up to 2 months. Thaw overnight in the refrigerator before serving.
Variations: Because Variety is the Spice of Life
Now that you’ve mastered the classic, why not experiment a little? Here are some fun variations to try:
- Chocolate lovers’ cheesecake: Add 1/2 cup of cocoa powder to the filling and use chocolate graham crackers for the crust.
- Fruity delight: Swirl in 1/2 cup of fruit puree (strawberry, raspberry, or mango work great) before baking.
- Cookies and cream: Mix in 1 cup of crushed Oreo cookies to the filling and use Oreo crumbs for the crust.
- Caramel macchiato: Add 2 tablespoons of instant coffee granules to the filling and top with caramel sauce after baking.
- New York style: Add 1/4 cup of sour cream to the filling for that classic NY cheesecake tang.
The Grand Finale
And there you have it, folks! Your comprehensive guide to cheesecake perfection. Remember, even if your first attempt doesn’t turn out picture-perfect, it’ll still taste amazing. Because let’s be real, have you ever met a bad cheesecake? I didn’t think so!
Baking is a journey, not a destination. Each cheesecake you make will be better than the last. So don’t be discouraged if your first one isn’t Food Network worthy. Mine certainly wasn’t – I still remember my first cheesecake fondly. It looked like it had been through an earthquake, but it tasted like heaven. And really, isn’t that what matters most?
So go forth and bake! Experiment, have fun, and most importantly, enjoy the fruits (or should I say, cheese) of your labor. Your taste buds will thank you, your friends will worship you, and you’ll have a new party trick that doesn’t involve balancing a spoon on your nose.
And who knows? Maybe one day you’ll be passing this recipe down to your grandkids, regaling them with tales of your cheesecake conquests. Until then, happy baking, and may your cheesecakes always be creamy, your crusts always be crisp, and your kitchen always smell like a little slice of heaven.
